Guides → WiFi LED Clock
WiFi LED Clock
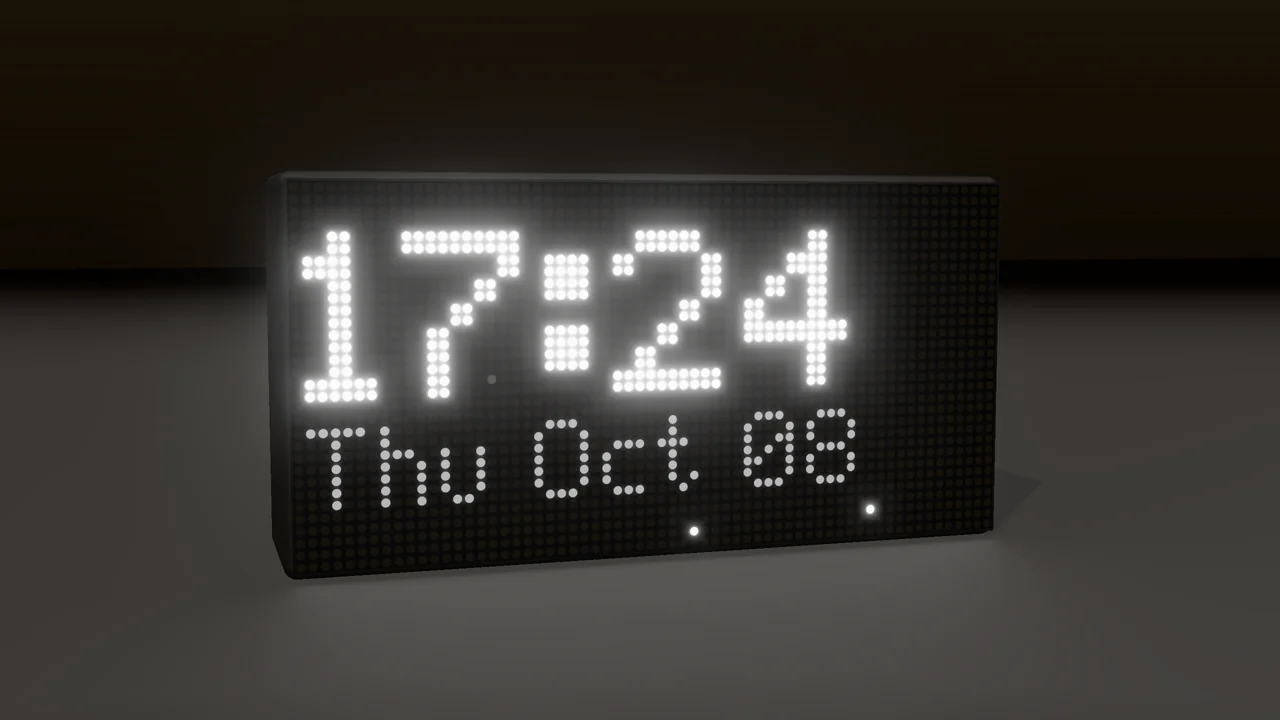
Live time and date, each in your choice of format, always right because the device gets the time from the internet. No key, no code.
What you need
Step by step
-
Open the setup page
From a browser on the same network, open the address shown on the panel.

-
Add a View → Clock
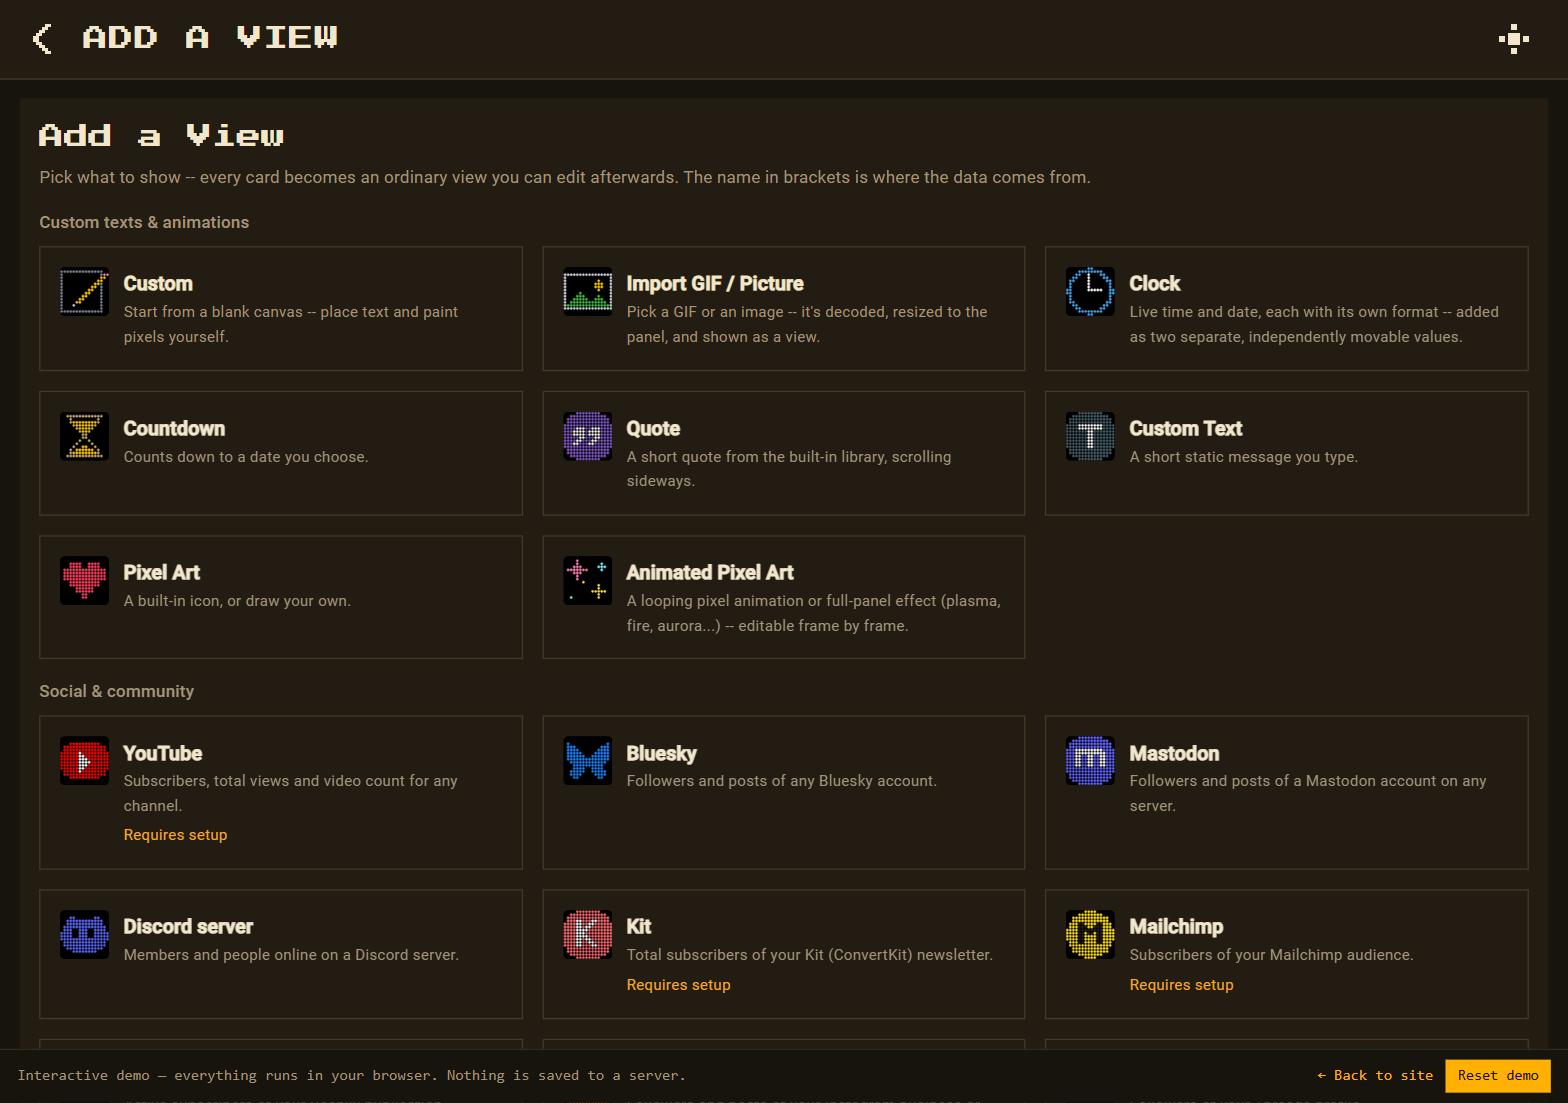
Go to Views → New view. On the Add a View page, under Custom texts & animations, pick Clock.
-
Pick time and date formats
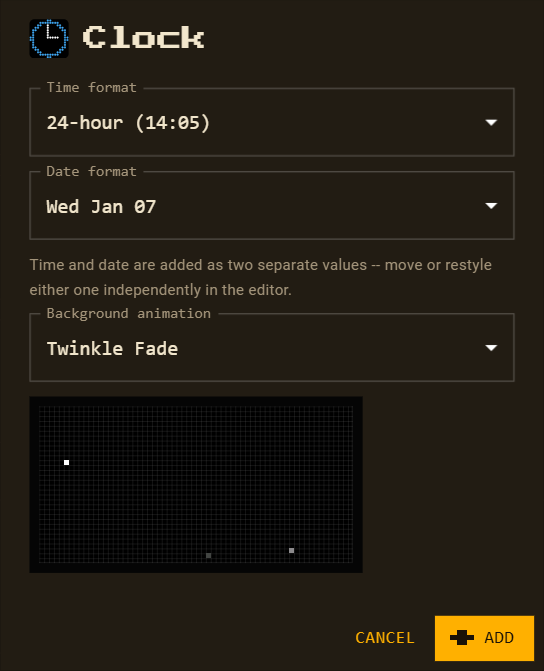
Choose a time format (12- or 24-hour) and a date format.
-
Background animation
The view starts with Twinkle Fade sparkling around the time. Pick any other scene, background, pattern or effect, or None — the preview plays right in the dialog.
-
Arrange and save
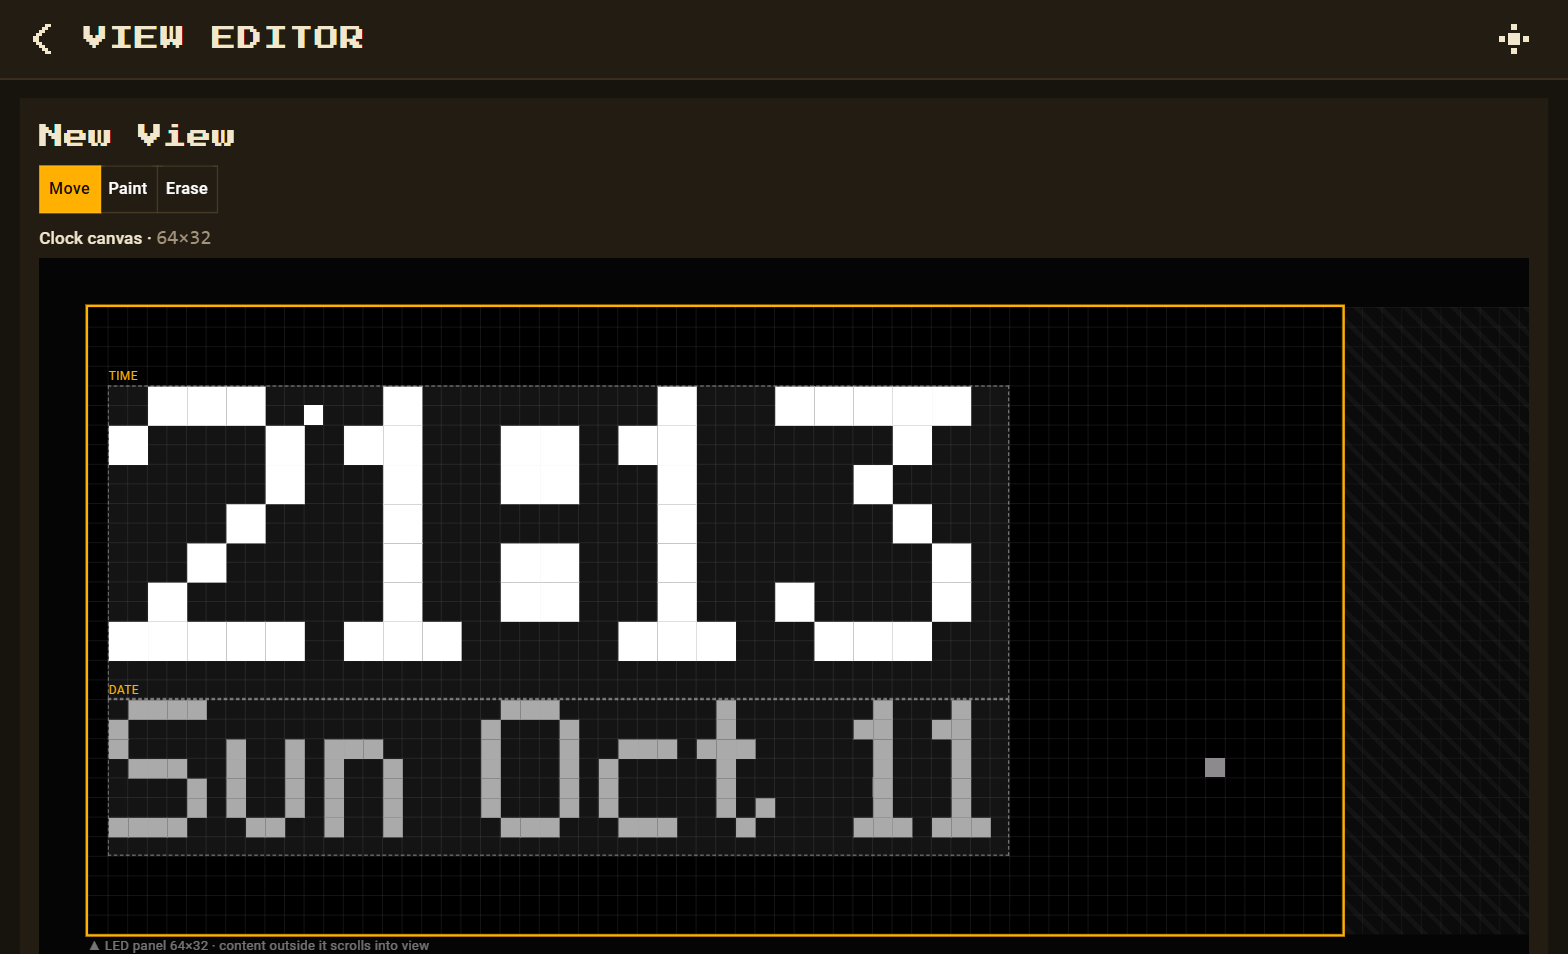
Time and date are two separate values — move and recolour either, then Save. For a full analog face behind it, pick the Clock Hands scene.
Want temperature too? Use Clock + Weather (see the weather guide).